Acteon UScan Set Up

The Acteon Uscan is a rebranded Villa Scanograph so we will configure it via the Owandy/Villa module as it uses the same driver as the Villa scanner. *** Please note the site will need to be on V8 for this to work ***
Firstly enable the X-Ray Owandy Module.

Within the Owandy module go to the “Sensors” tab and select the “IngxCli (USB/WiFi)” tab, tick the enabled box. Ensure “Ask for sensor files” near the bottom of the screen is unticked.
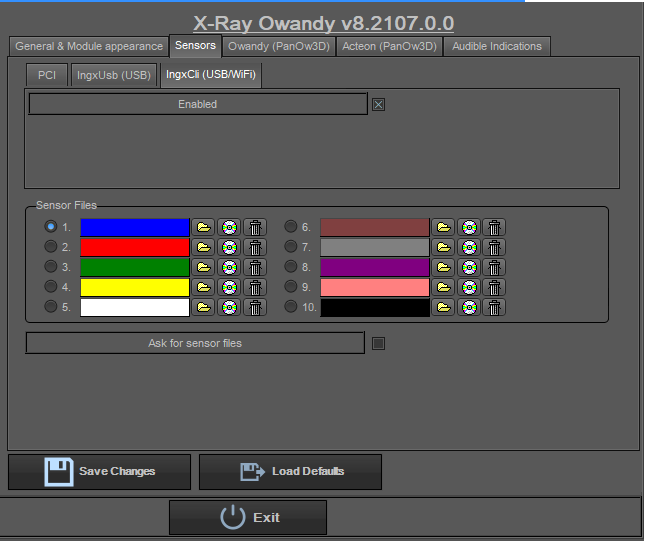
Ensure the X-Ray Owandy/Villa module is selected with X-ray Acquisition.

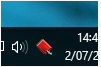
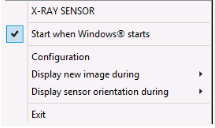
Make sure the Villa standalone program is running before you enter the Examine Pro acquisition screen. This can be started via a shortcut on the desktop or automatically when Windows starts (right-click on the red or green sensor icon in the system tray).
The option "Start when Windows starts" should be checked.
Within the acquisition screen you should see the scanner interface as below, when it is green it means it is connected and ready to scan, it will go yellow when busy scanning.

Examine Pro will also report on the status of the scanner at the bottom of the screen.

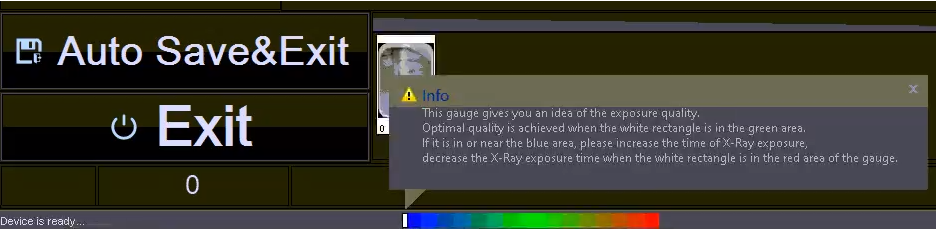
After a scan is taken there is also a dose indicator as can be seen below.
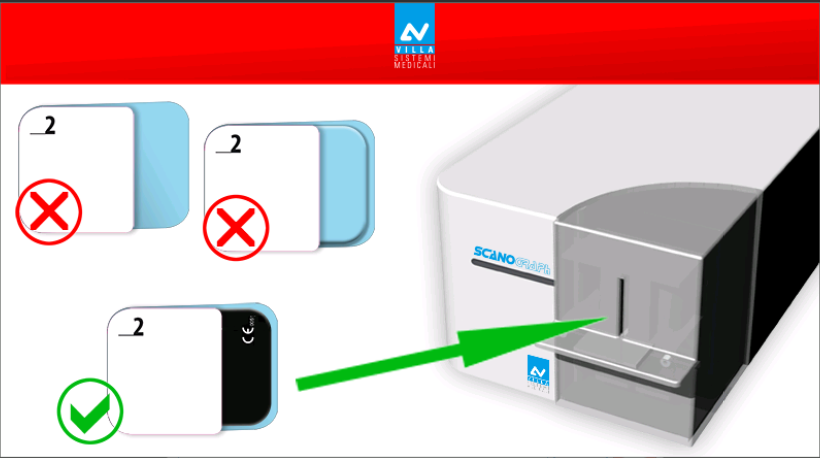
If the below screen comes up it’s because they aren’t scanning the plates in the correct way.
Comments
0 comments
Please sign in to leave a comment.